Custom attributes in CloudForms and ManageIQ
One of the nice features CloudForms and ManageIQ provide, is the automated discovery of the existing infrastructure. The collected information is stored in the database (often called the VMDB) and regularly updated. Sometimes we want to store additional information for specific objects as well. Although the database is not intended to be or to replace a CMDB, it is still a valid option for storing additional data.
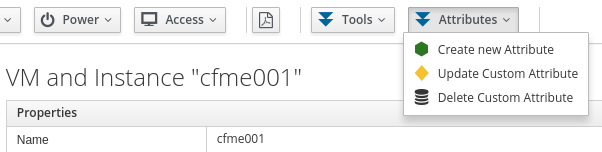
If an object has custom attributes associated and stored in the database, the attribute and the value are automatically shown in the UI. Unfortunately there is no capability to create, update or delete custom attributes from the Web UI. Since we can extend the out of the box functionality easily, we can add the missing capabilities by ourselves.
Automate Code
To implement the core functionality, Automate already provides the necessary methods:
-
custom_get(key): returns the value of the custom attribute with name “key”
-
custom_keys: returns an array of all custom attributes for the given object
-
custom_set(key,value): stores the specified value in the custom attribute key
The Automate code to implement these features can be found in my Gitlab repository. On top of the necessary methods to create and delete custom attributes, you’ll find some methods to create dynamic dialogs with the list of available custom attributes.
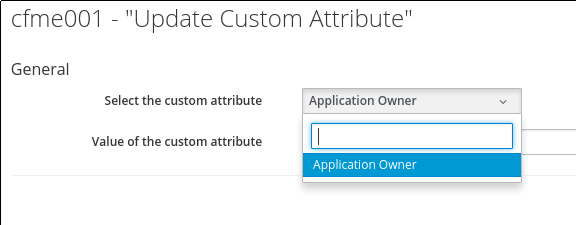
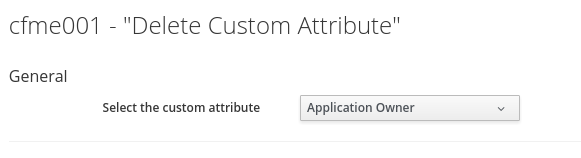
There is no method for “update”, since the custom_set method works for new and existing custom attributes. There is also no method for “delete”. To delete a custom attribute, just overwrite the current value with an empty string.
Service Dialogs
To make it easy for the end user to consume these features, Service Dialogs can be created. The Gitlab repository also contains examples for this.
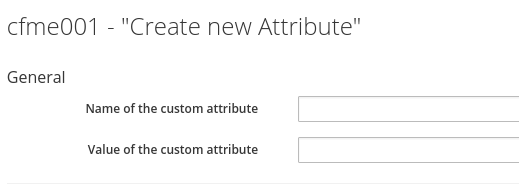
Create custom attributes:
Update custom attributes:
Delete custom attribute:
Service Dialogs can be imported by navigting to Automation, Automate, Customization. From there click Import/Export on the accordion on the left and import the files one by one.
Buttons
Finally we need to create custom buttons which call the Service Dialogs and the backend logic. In the current release, buttons can not be imported or exported, so we have to create them manually.
First navigate to Automation, Automate, Customization. Click on Buttons in the accordion on the left. To make the provisded example work, you have to create the buttons on the VM and Instance tree. Click on it and then Configuration, Add a new Button Group. Give it a good name and description and select an Button Group Image.
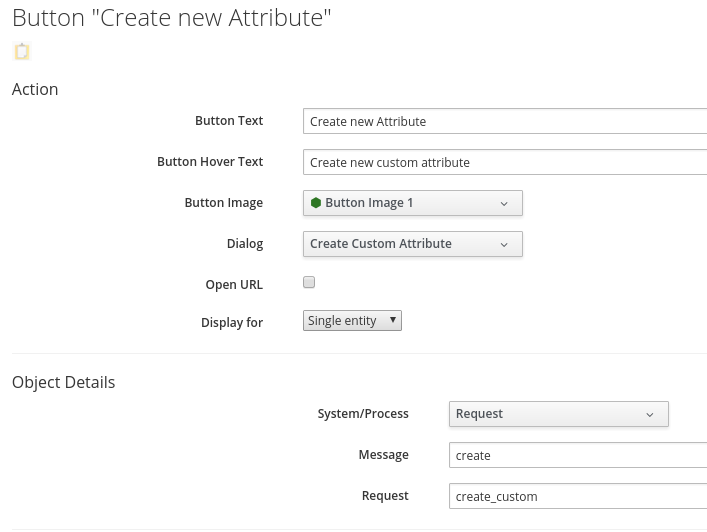
Create the button for new custom attributes:
-
Button Text: “Create new Attribute”
-
Button Hover Text: “Create new custom attribute”
-
Button Image: Choose and icon
-
Dialog: “Create Custom Attribute” (only works if you successfully import the provided dialogs in the previous step)
-
Request: create_custom
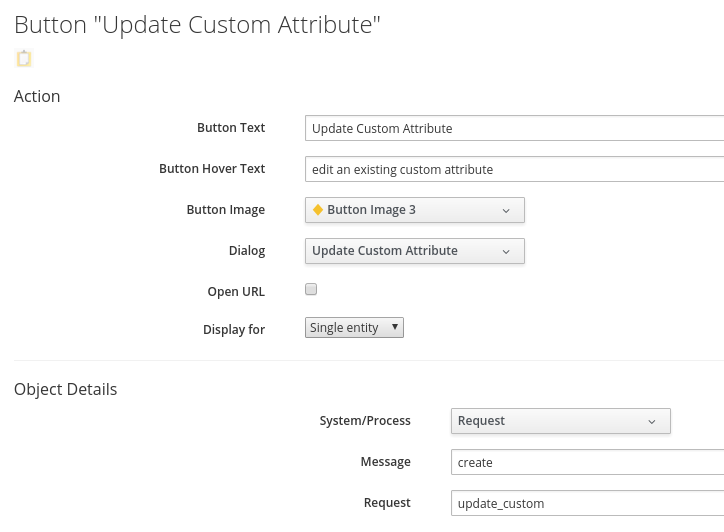
Create the button for updating custom attributes:
-
Button Text: “Update Custom Attribute”
-
Button Hover Text: “edit an existing custom attribute”
-
Button Image: Choose and icon
-
Dialog: “Update Custom Attribute” (only works if you successfully import the provided dialogs in the previous step)
-
Request: update_custom
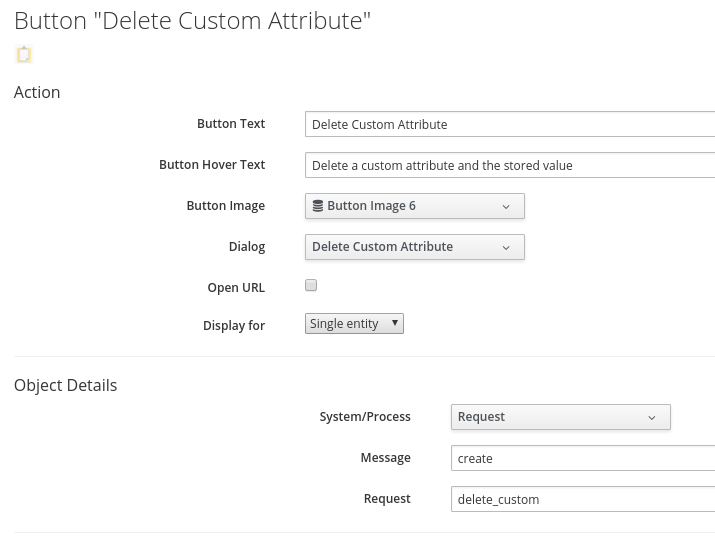
Create the button for deleting custom attributes:
-
Button Text: “Delete Custom Attribute”
-
Button Hover Text: “Delete a custom attribute and the stored value”
-
Button Image: Choose and icon
-
Dialog: “Delete Custom Attribute” (only works if you successfully import the provided dialogs in the previous step)
-
Request: delete_custom
Role based access control
There is a very powerful and flexible Role Based Access Control (RBAC) feature available which can also be used for custom buttons. If you scroll down to the very button of the “Add new Button” screen, you’ll see a drop down list where you can change the Visibility. If set to by Role, we can grant access to each individual button for specific roles.