Purpose of this document
CloudForms and ManageIQ have an embedded editor which allows you to write and edit Automate code. This is convenient and easy to use for smaller modifications. As soon as you want to work on larger projects, you probably want more:
-
history: be able to go back to previous versions of your code
-
branches: be able to create branches for test features or specific bug fixes
-
better editor: the built in HTML editor is good enough for simple coding, but eventually you might want to use a more sophisticated editor. Popular editors amongst CloudForms users are Sublime, Atom, Visual Studio Code, or maybe just your optimized configuration of VI or Emacs.
-
logs: as soon as you collaborate working on Automate code, you want to be able to see how did which change
Automate code can not only be written in the built in HTML editor, it can also be imported from a Git repository. For continuous integration, the REST API can be used to trigger a refresh every time new code is committed.
The setup
GitHub and GitLab are probably the most popular tools for Open Source Source Code Management tools currently used. The example below will work with either one of them, and should also work with any Git/CI combination, but might require some additional steps.
For the example below, GitLab is used, since it has builtin CI/CD features. If you prefer GitHub, the following instructions should work as well, but you might need an additional tool, for example Travis CI, for the CI part.
Every time new code is committed to the Git repository, a CI/CD Tool will detect that change and use an CloudForms API call to trigger a refresh. As a consequence, the script which is running on the CI/CD server must be able to open a TCP connection on port 443 to the CloudForms appliance by using its IP address or DNS name.
Adding a Git repository
Create your Git repository with your Automate code. It is easier if you start with an existing repository, which actually already has some code checked in.
Before you can add a Git repository, the necessary role has to be enabled. Click on the top right menu which shows your user name and then Configuration. Make sure you enable the “Git Repositories Owner” role (you might have to scroll down to see all the roles, depending on your screen resolution).
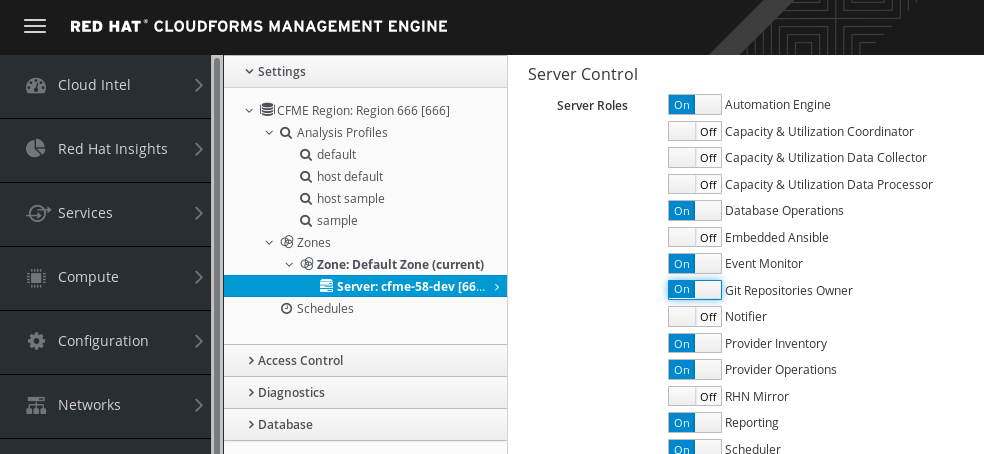
It can take a few moments for the services to start in the background.
Navigate to Automation, Automate, Import/Export. If the submit button is still greyed out, the role has not been activated yet. The question mark icon next to the submit button will give you an according hint. in this case wait another minute and reload the page.
From your Git repository, copy the HTML URL (SSH will not work). Paste the URL into the “Git URL” field.
Note: A Git URL is pointing to a file with the suffix .git. For example, the Git URL for the repository used for this example is https://gitlab.com/cjung/automate.git
The Username and Password are optional, as indicated in the UI. If you have a public repository on GitLab or GitHub, you will not need it. For private repositories, the user credentials have to be provided. CloudForms or ManageIQ will only need privileges to pull code, so a read only account is enough.
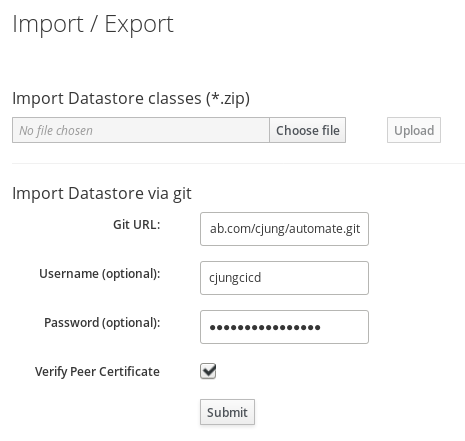
After clicking on Submit it can take a few seconds before you see the next screen. During this delay, CloudForms/ManageIQ will try to access the repository and check if it can find an valid Automate repository.
If successful, the next screen will allow you to chose which tag or branch you want to checkout. For this example, we use the master branch.
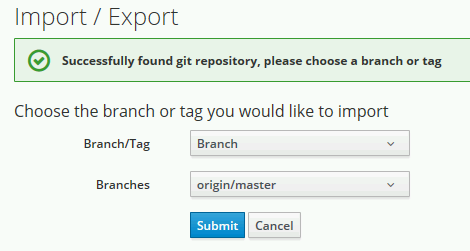
The import can once more take a few seconds, after which you should get a message, the import was successful.
Verify the new Automate domain
Navigate to Automation, Automate, Explorer to see the domain after the import. Note that the domain is always read only. Code has to be changed in Git and can not be changed in the builtin editor anymore.
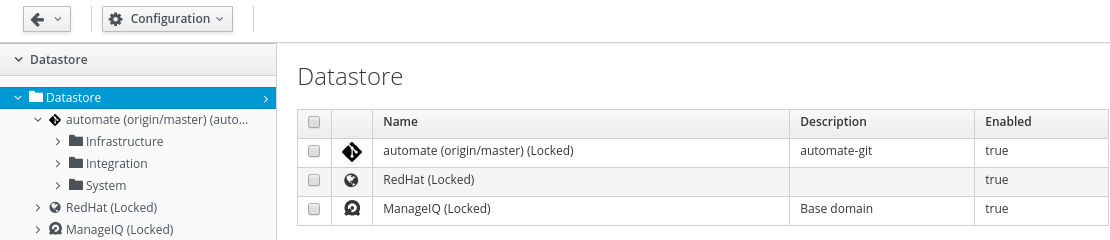
After clicking on the Domain, a refresh can be initiated from the Configuration menu and Refresh with new branch or tag. This can also be used to change the branch or tag used to retrieve the code from Git.
Create a locked down role
So far we have manually imported Automate code from an existing Git repository. For a continuous integration workflow, we need an automatism to update the code in CloudForms, every time we commit a change to Git.
To be able to accomplish this, we need a user with the necessary privileges to refresh the Automate domain. This user has to log into CloudForms and perform a refresh by sending an API call.
For security reasons, it is advised to create an account with restricted privileges. Fortunately CloudForms allows us to create a user which can only perform a refresh, but no other action.
-
Navigate to Configuration by clicking on your username on the top right corner and click on Access control
-
Click on Roles and open the Configuration menu and Add a new Role
-
Give the new role a name, for example “Git”
-
Disable all privileges by making sure the box next to “Everything” is disabled
-
Drill into Automation, Automate, Explorer, Automate Domains, Modify and enable Refresh
![Only enable Automate Refresh privilege]()
-
Add the new role
-
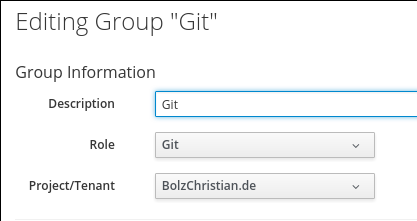
Navigate to Groups, click on Configuration and Add a new Group
-
Enter a description, for example “Git”
-
Select the previously created role in the “Role” drop down list
-
Select the parent tenant
![Add the new group]()
-
Add the new group
-
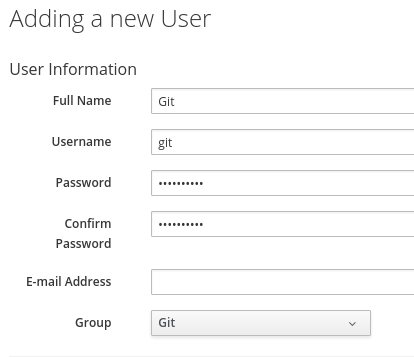
Last but not least, navigate to Users and click on Configuration, Add a new User
-
Fill in the fields for “Full Name” and “Username”, also set a password for the new user. Make sure to remember the username and password, since you will need both later. The email address is optional.
-
Make sure to select the previously created group in the “Group” drop down list
![Add the new user]()
-
Add the new User.

Build a CI pipeline
The final piece in the puzzle is the script which is executed on the CI/CD server which triggers CloudForms to refresh the Automate domain.
GitLab
This example is using GitLab:
-
Create a new file called “.gitlab-ci.yml” in the root directory of the git repository
-
Add the following lines:
job1: script: - curl -k -X POST -d'{"action":"refresh_from_source"}' https://<username>:<password>@<FQDN or IP of CloudForms Appliance>/api/automate_domains/<name of Automate domain> -
Save the file and commit it to the repository
Travis CI
-
Create a new file called “.travis.yml” in the root directory of the git repository
-
Add the following lines:
language: ruby script: - curl -k -X POST -d'{"action":"refresh_from_source"}' https://<username>:<password>@<FQDN or IP of CloudForms Appliance>/api/automate_domains/<name of Automate domain> -
Save the file and commit it to the repository
Testing
After committing the build script, you can start doing changes to your Automate repository. Every time you commit a change, the build script should be executed and refresh the Automate domain.
Note that it can take a few seconds unless the CI/CD server detects the change and they show up in CloudForms.